

Peacefair PZEM-004T V3 Energy Monitor
NOTE
This page is incomplete and could use some work. If you want to contribute, please see our developer site. This page is missing:
- Images/screenshots/example configs of this device being used in action.
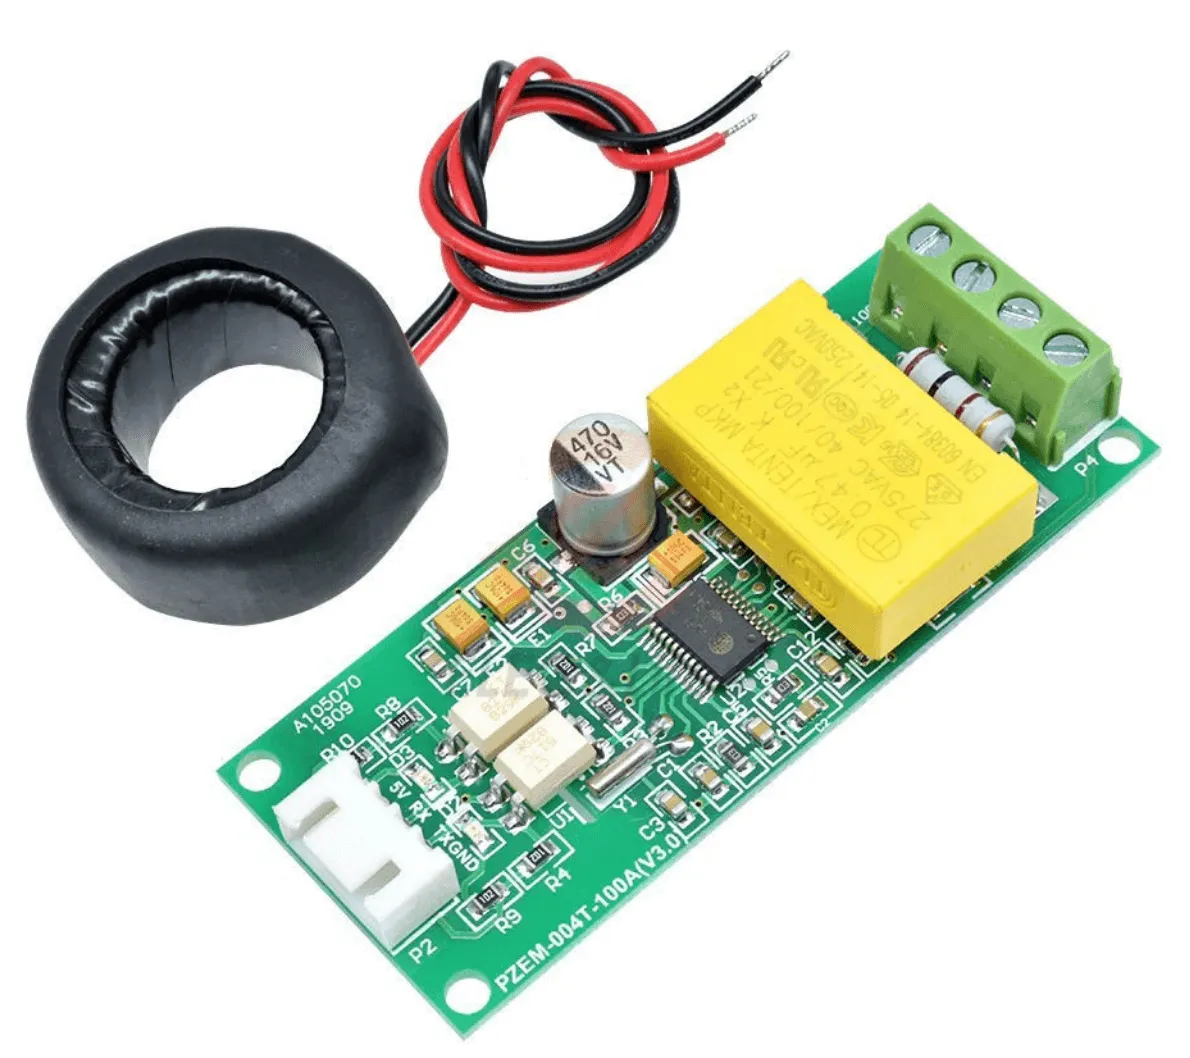
The pzemac sensor platform allows you to use PZEM-004T V3 energy monitors
(website,
datasheet)
with ESPHome.
The sensor can be connected in various configurations - please see the manufacturer’s website for more information.
WARNING
Please note that metering chip inside of PZEM module is powered from AC side and it has to be on during startup of ESPHome device, othervise measure results won’t be visible.
WARNING
This page refers to version V3 of the PZEM004T. For using the older V1 variant of this sensor please see pzem004t.
The communication with this component is done via a UART using Modbus.
You must therefore have a uart: entry in your configuration with both the TX and RX pins set
to some pins on your board and the baud rate set to 9600.
# Example configuration entryuart:  rx_pin: D1  tx_pin: D2  baud_rate: 9600
modbus:
sensor:  - platform: pzemac    current:      name: "PZEM-004T V3 Current"    voltage:      name: "PZEM-004T V3 Voltage"    energy:      name: "PZEM-004T V3 Energy"    power:      name: "PZEM-004T V3 Power"    frequency:      name: "PZEM-004T V3 Frequency"    power_factor:      name: "PZEM-004T V3 Power Factor"    update_interval: 60s
Configuration variables
Section titled “Configuration variables”-
current (Optional): Use the current value of the sensor in amperes. All options from Sensor.
-
energy (Optional): Use the (active) energy value of the sensor in watt*hours. All options from Sensor.
-
power (Optional): Use the (active) power value of the sensor in watts. All options from Sensor.
-
voltage (Optional): Use the voltage value of the sensor in volts. All options from Sensor.
-
frequency (Optional): Use the frequency value of the sensor in hertz. All options from Sensor.
-
power_factor (Optional): Use the power factor value of the sensor. All options from Sensor.
-
update_interval (Optional, Time): The interval to check the sensor. Defaults to
60s. -
address (Optional, int): The address of the sensor if multiple sensors are attached to the same UART bus. You will need to set the address of each device manually. Defaults to
1. -
modbus_id (Optional, ID): Manually specify the ID of the Modbus hub.
pzemac.reset_energy Action
Section titled “pzemac.reset_energy Action”This action resets the total energy value of the pzemac device with the given ID when executed.
on_...: then: - pzemac.reset_energy: pzemac_1Changing the address of a PZEM-004T
Section titled “Changing the address of a PZEM-004T”You can use the following configuration to change the address of a sensor.
You must set the address of the modbus_client action to the current address, and value to the new one.
WARNING
This should be used only once! After changing the address, this code should be removed from the ESP before using the actual sensor code.
esphome:  ...  on_boot:    ## configure the device at setup    ## make sure priority is lower than setup_priority of the modbus hub    priority: -100    then:      - modbus_client.write_single_register:          # The special address 0xF8 is a broadcast address accepted by any pzem device.          # If you use this address, make sure there is only one pzem device connected to the bus.          # address: 0xF8          address: 0x01 # current address          start_address: 0x02          value: 0x0003 # new address          on_response:            then:              - logger.log: "PZEM address set"          on_error:            then:              - logger.log: "PZEM address could not be set!"
modbus:  send_wait_time: 200ms
Other Devices
Section titled “Other Devices”PZEM-004T-100A-D-P(V1.0)
Section titled “PZEM-004T-100A-D-P(V1.0)”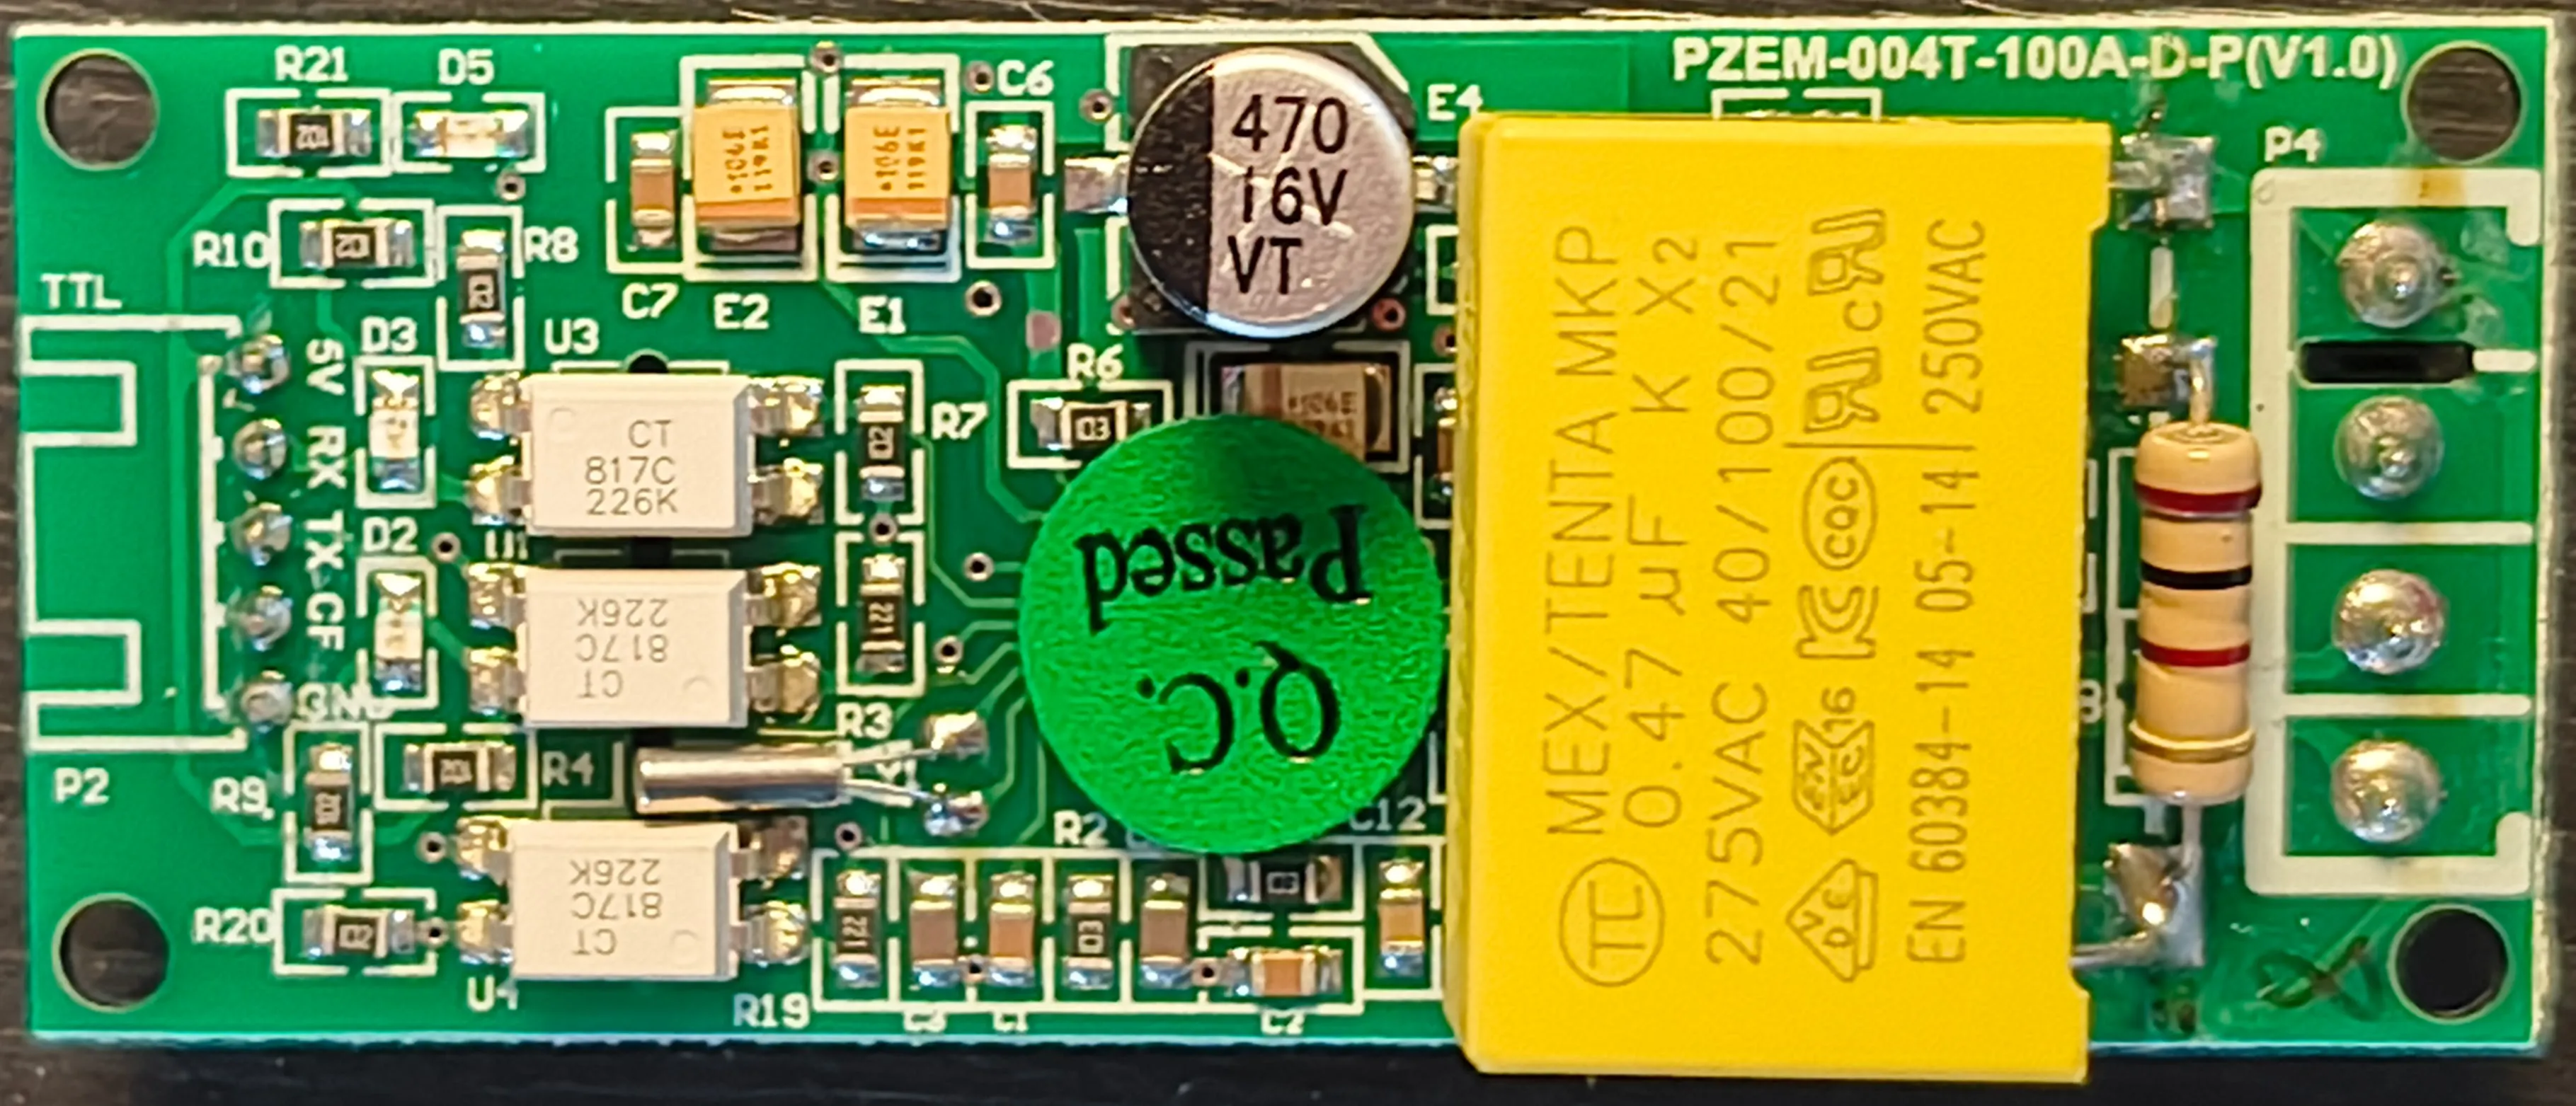
- The silkscreen marking implies V1.0, which might mislead users into trying to use pzem004t.
- One notable difference to other boards is the 5-pin connection labeled 5V, RX, TX, CF, GND.
- Seems to work when supplied with 3.3V on the 5V pin, at least over a few centimeters of wire. No need for a level shifter or resistor changes in this case.